Printing Project: 1. Start with a pencil drawing on paper 2. Transfer drawing onto rubber 3. Carve rubber! 4. Put ink on the rubber. 5. Print the inked rubber onto a piece of paper. 6. Keep carving and printing until you have a three color registration print
Your homework: Bring in an image to use for your drawing, or even better, finish the drawing for homework and bring the drawing in! Either way, I'm happy. Here are some examples of good and bad images:
See how the image is just black and white? That will work out great!
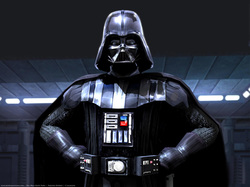
This Darth Vader is too complicated. Too many subtle value changes. Not a good image for this project!
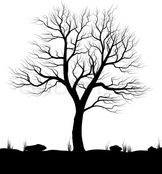
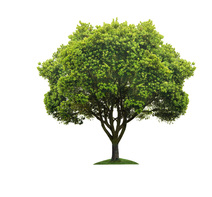
Black and white tree would work perfectly, the green tree.... not so much.
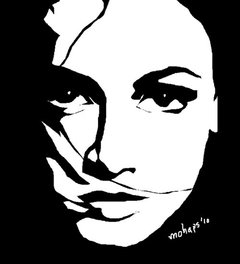
The woman's face has distinct value changes between black and white. Great! The man's black and white face would not be good for this project. The value is slowly transitioning. That is bad news for relief printing.
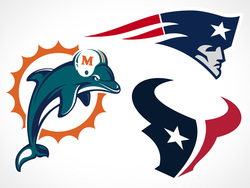
I tried to find a logo that would not work and I couldn't. If you have no idea what you would like to do for this project, start looking for logos. Any logo you find, especially logos that have three or less colors, would be a perfect match for this project.
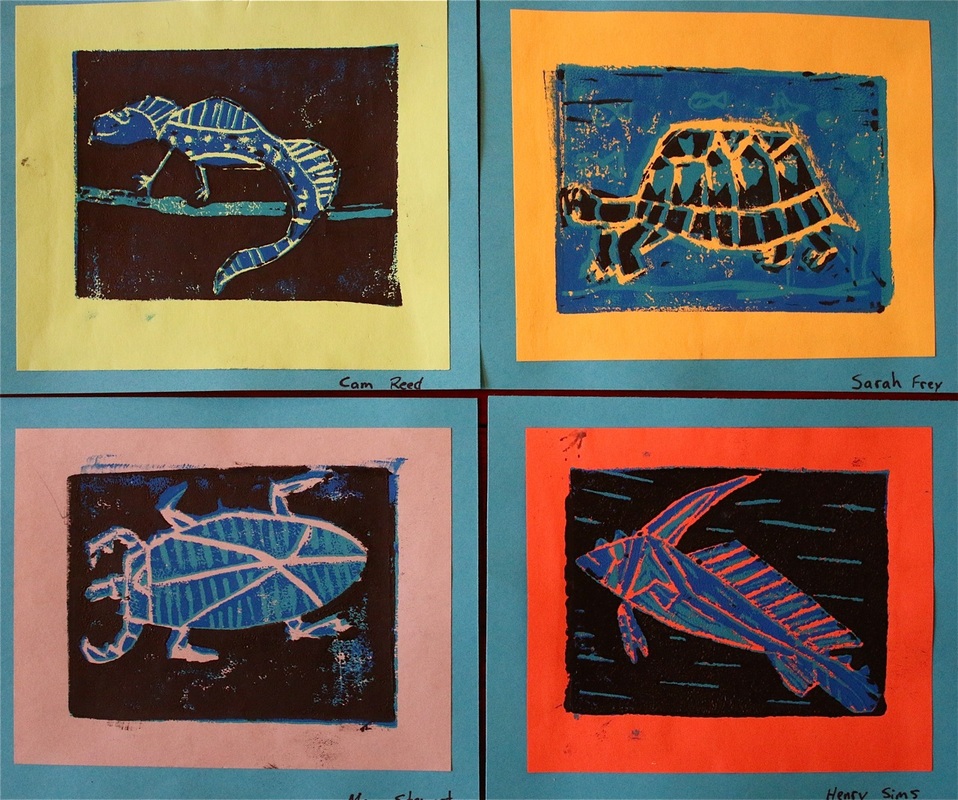
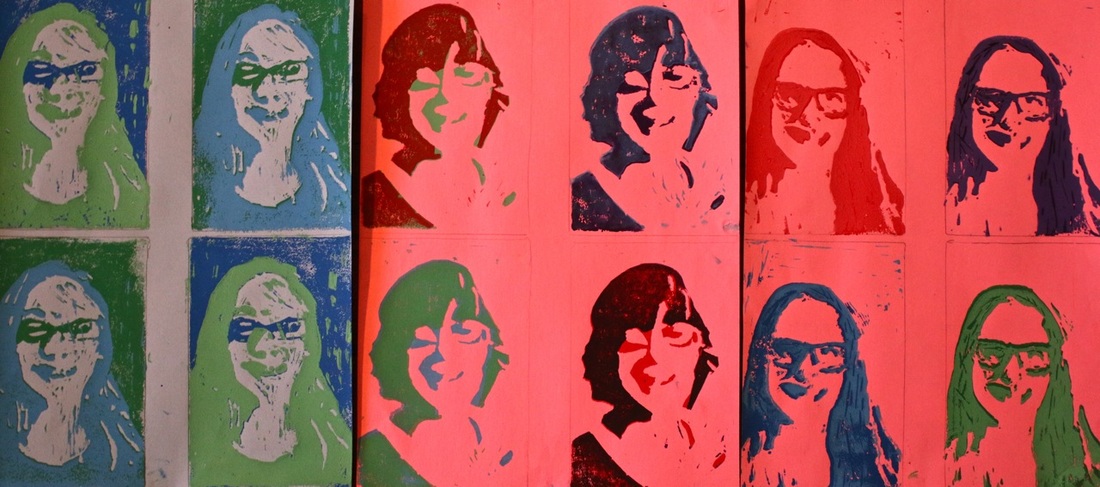
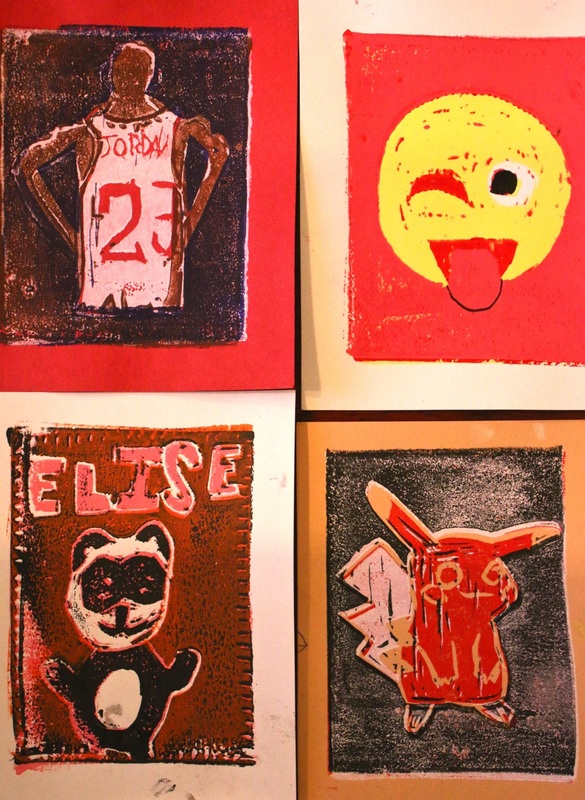
Here are some student examples. The are all multiple registration prints. That means they printed one color, carved their rubber more, and then printed a different color on top of the first color.